So, in this article, we will share a step-by-step guide on how to install and run Android apps on the new Windows 11 operating system. The process is a bit complicated. Therefore, follow the steps carefully. Also Read: 10 Best Android Emulators For Windows 10
Requirements to Install Android Apps on Windows 11
There are a few things that users should note before installing Android apps. Below, we have listed the requirements to install Android apps on Windows 11 operating system.
How to Run Android Apps on Windows 11
If your PC meets all the requirements shared above, it’s good to test the Android apps. Here are some of the simple steps to follow.
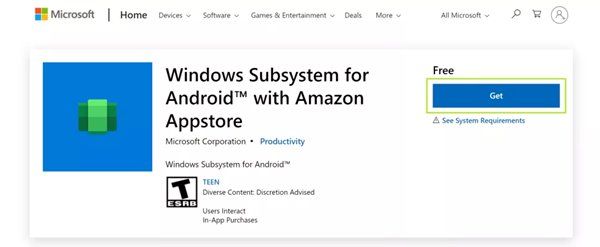
First, open the Windows Subsystem for the Android web page and click on the Get button.
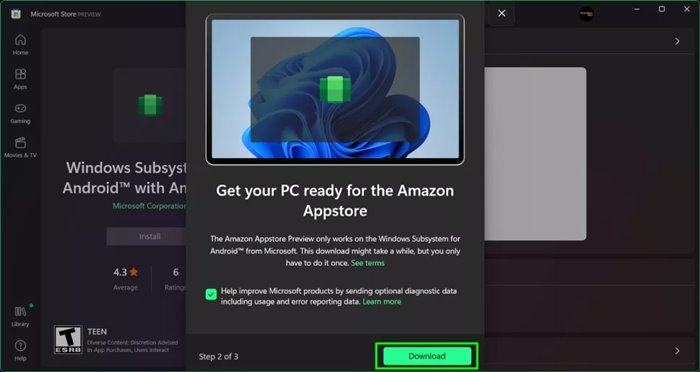
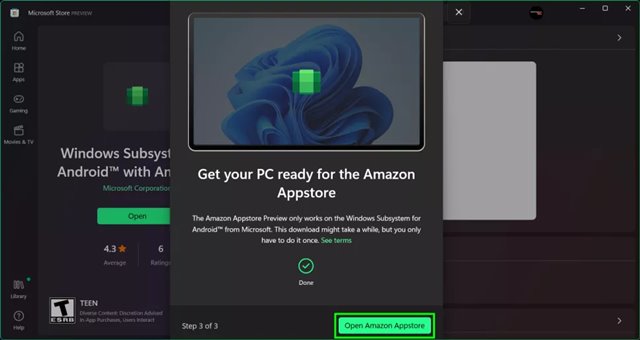
Once downloaded, click on the Install button in the Microsoft Store app.
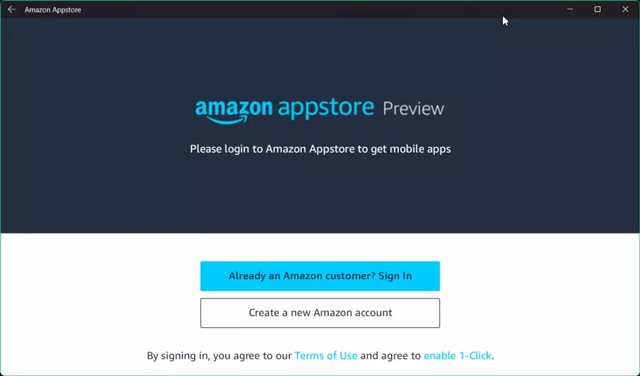
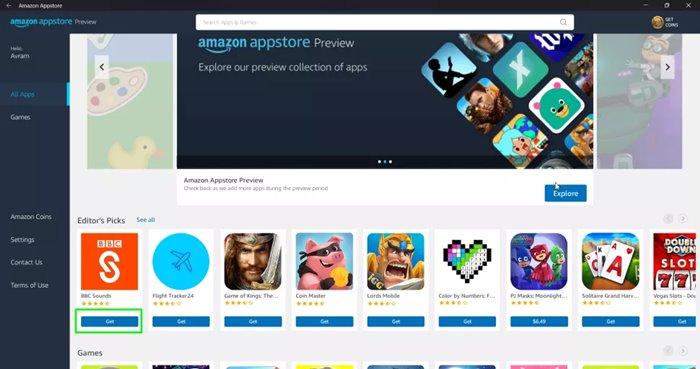
- Now you will find lots of apps. Just click on the Get button behind the app name to install it on your device.
That’s it! You are done. The app that was installed can be accessed via the Start Menu or Windows search. So, this guide is all about how to Run Android apps in Windows 11. I hope this article helped you! Please share it with your friends also. If you have any doubts related to this, let us know in the comment box below.