Windows 10 users often face issues like slow boot issues, BSOD errors, and more. Out of all such problems, the slow boot issue is the prominent one. Slow boot issue is the one that causes your operating system to startup slower than usual. Although most of the time, the Slow Boot issue is linked with faulty hard drives or RAM, sometimes it may happen due to software side problems. To deal with the software issues, Microsoft has introduced a feature in Windows 10 that allows you to trigger a fast startup on the operating system. Also Read: How to Enable/Disable Startup Sound in Windows 10
Steps to Enable Fast Startup on Windows 10 PC
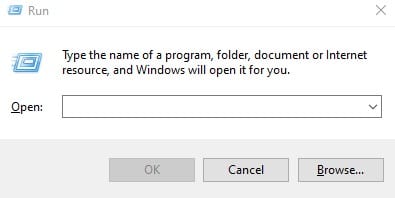
So, if you are experiencing a slow boot issue on your Windows 10 computer, you might expect help here. In this article, we will share an easy method to enable Fast Startup on a Windows 10 computer. Let’s check out. Step 1. First of all, open the RUN dialog box on your Windows 10 computer. To open the Run dialog box, press Windows + R.
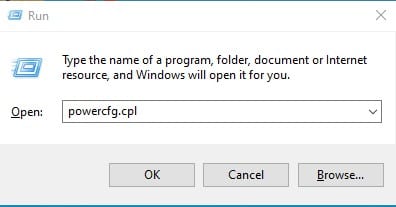
Step 2. On the Run dialog box, type in ‘powercfg.cpl’ and press the Enter button.
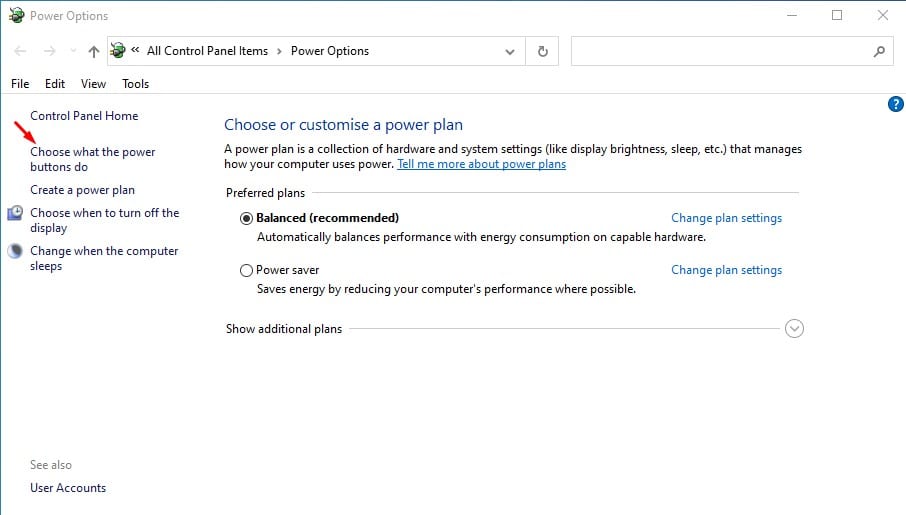
Step 3. This will open the Power option on your Windows 10 computer. Step 4. On the left pane, select ‘Choose what the power buttons do.’
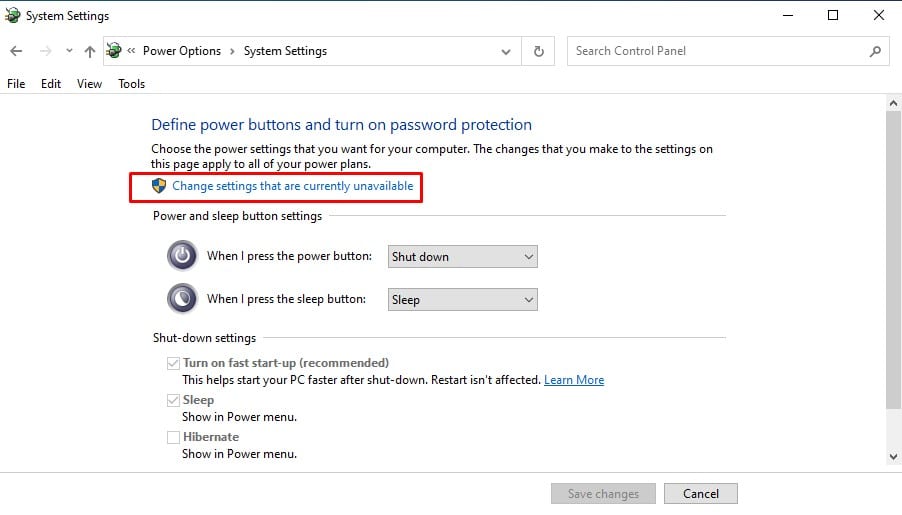
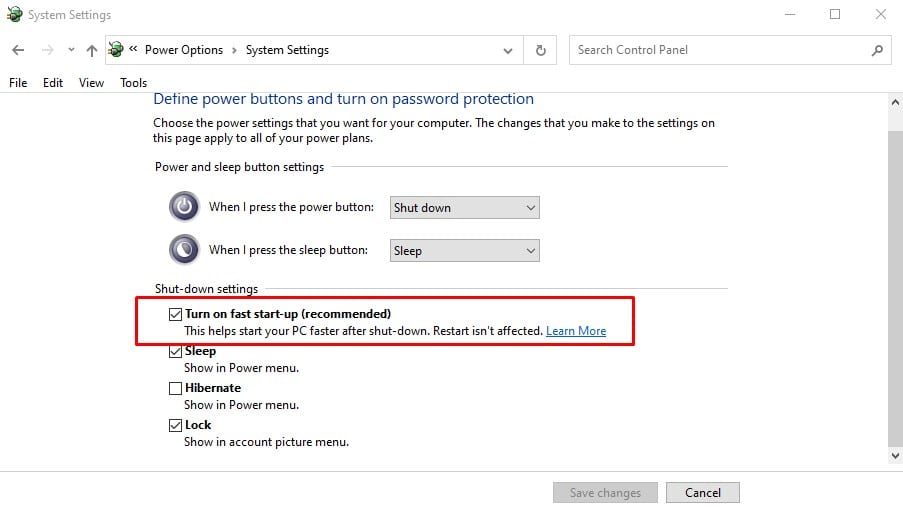
Step 5. On the ‘Define power buttons and turn on password protection’ option, click on the ‘Change settings that are currently unavailable.’
Step 6. Now scroll down and enable the ‘Turn on fast startup (recommended)’ option.
Note: If you are using a laptop, you might experience battery drainage issues if you have turned on the Fast Startup. You can disable the feature anytime from the same menu. That’s it! You are done. This is how you can enable Fast Startup on Windows 10 computer. So, this article is all about how to enable Fast Startup on Windows 10 computer. I hope this article helped you! Please share it with your friends also. If you have any other doubts related to this, let us know in the comment box below.
