Windows 10 does this to ensure an automatic connection to a saved wireless network when you are within range. However, there are times when we want to stop our PC from connecting to a network automatically. At that time, you need to use the ‘Forget’ option on the Network settings.
Delete Or Forget Wifi Network In Windows 10
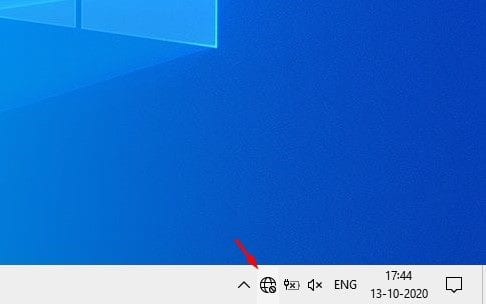
So, in this article, we are going to share a working guide on how to delete a saved WiFi network on Windows 10. Let’s check out. Note: The method will work only when you are near the WiFi network. For the method to work, the WiFi network should appear in the list of the ‘Network’ option. Step 1. First of all, click on the ‘Network’ icon on the taskbar.
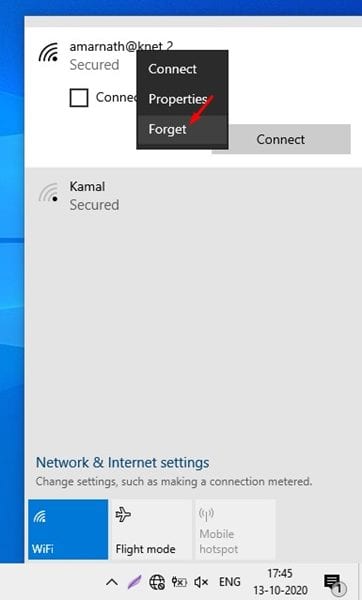
Step 2. Now right click on the name of the network that you want to forget and select the ‘Forget’ option.
That’s it! You are done. This is how you can forget a saved WiFi network from Network settings.
2. Using Network & Internet Settings
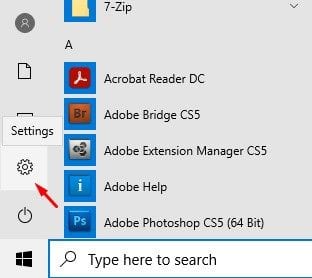
Well, if you want to forget a saved WiFi network that isn’t nearby, then you need to follow this method. Follow some of the simple steps given below to forget a saved network in Windows 10. Step 1. First of all, open the Settings page on your computer.
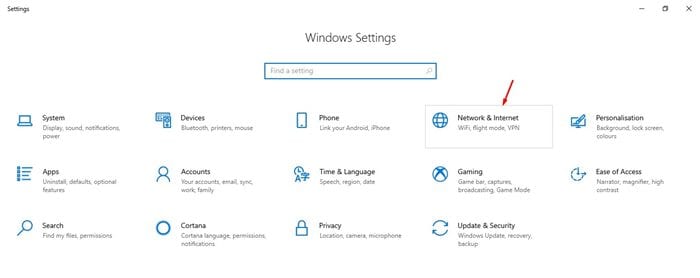
Step 2. On the Settings page, click on the ‘Network and Internet’ option.
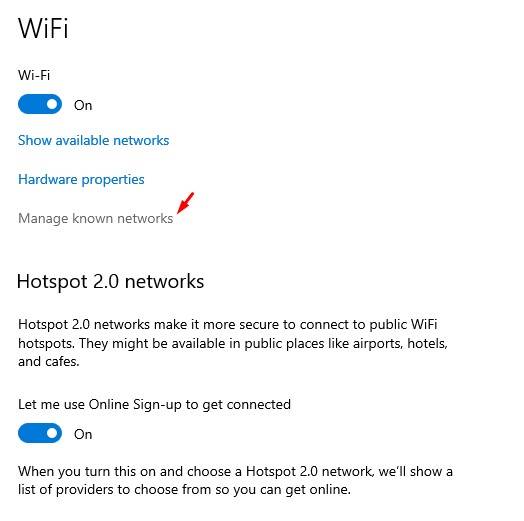
Step 3. Under the network option, click on the ‘WiFi’ button.
Step 4. Now from the right-hand side pane, click on the ‘Manage Known networks’ option.
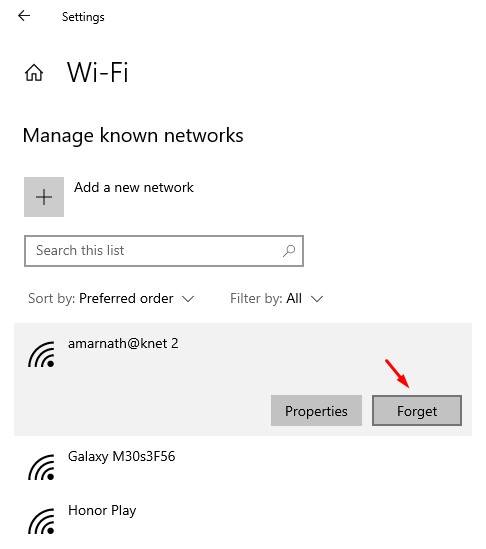
Step 5. The next list will show all the saved wireless networks. Simply click on the name and then on the ‘Forget’ option.
3. Forget a saved network from the CMD
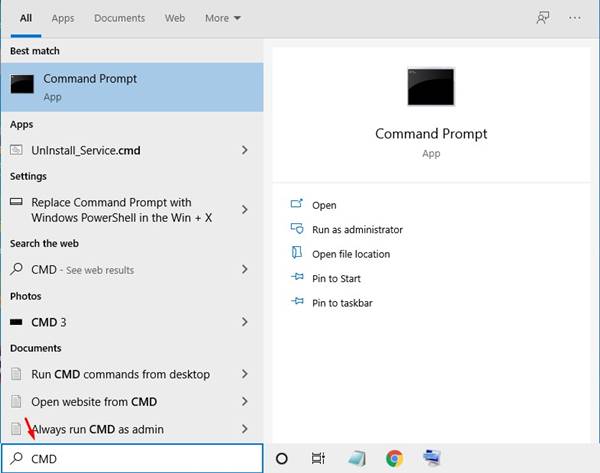
In this method, we are going to use the Command Prompt to forget a saved network. Follow some of the simple steps given below. Step 1. First of all, open the Search box and search for ‘CMD’
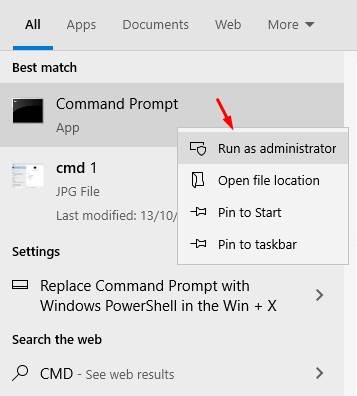
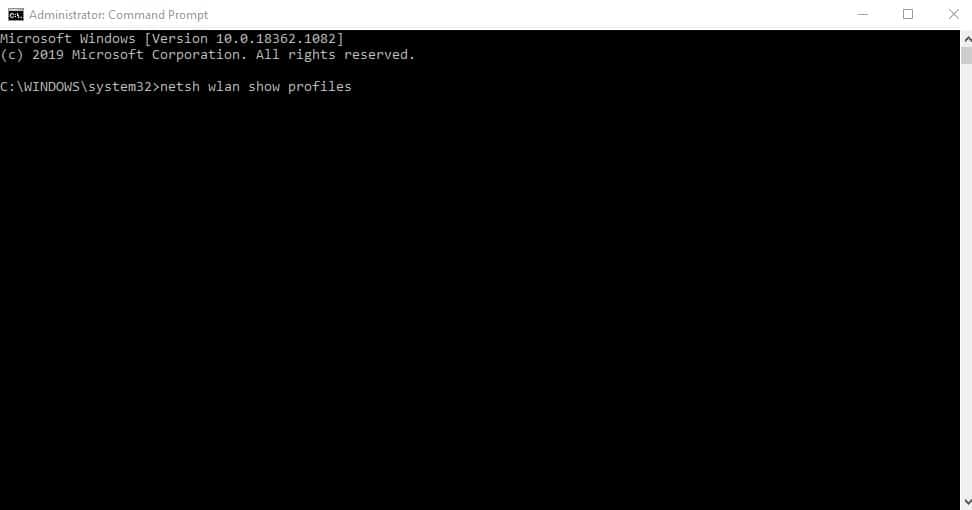
Step 2. Right-click on the CMD and select ‘Run as administrator’
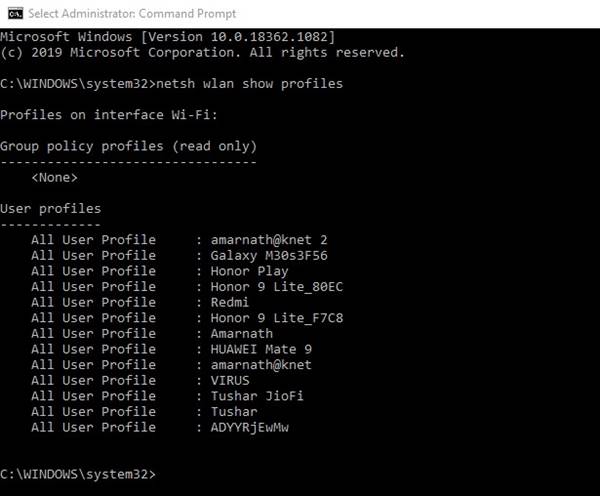
Step 3. On the Command prompt Window, enter the following command – netsh wlan show profiles
Step 4. The above command wilL list alL profile names of the saved wireless network.
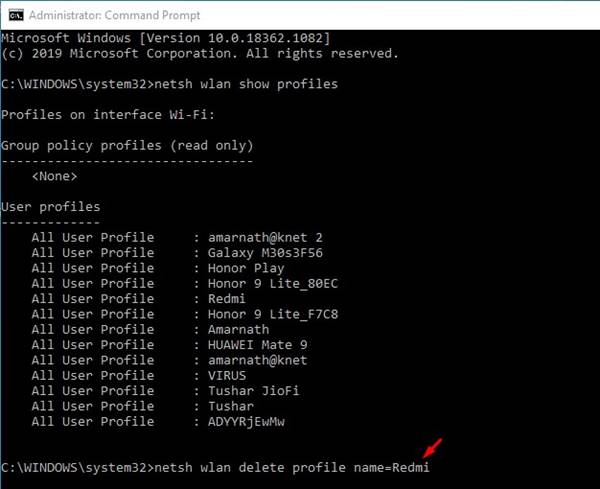
Step 5. Now use the following command to select the network profile – netsh wlan delete profile name=”PROFILE NAME”
Note: Replace ‘PROFILE NAME’ with the actual profile name of the wireless network. That’s it! You are done. This is how you can use CMD to delete or forget saved WiFi networks in Windows 10. So, this article is all about how to delete a saved WiFi network on Windows 10. I hope this article helped you! Please share it with your friends also. If you have any doubts related to this, let us know in the comment box below.